
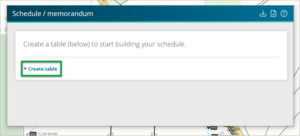
- Select + Create table to create your first table.
- A drop-down of table types will appear. From here, select the table type you require.
Note: The Notes option at the top is a free text field. You can record any notes relevant to the dataset you are creating here.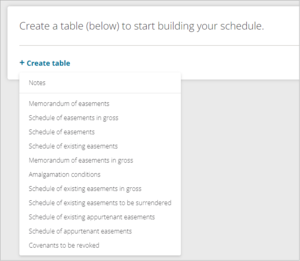
- The options you see when you create a table will vary depending on the type of table you create. We’ll create a Memorandum of easements for this example.
- You can rearrange the order of the columns by dragging and dropping them, and you can sort the data in a column by clicking on the column header name.
Note: The column order will revert back to the default setting when you close the panel, download the schedule/memorandum, or attach it to the survey report.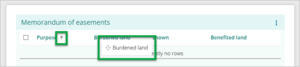


- You can drag a table up or down by clicking and holding near the header of the table, and dragging it to where you want it.
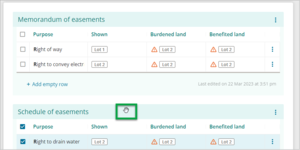
- The table also has a more actions menu (three-dots). From here you can delete the whole table, or move a table up or down (if you have created more than one table).


