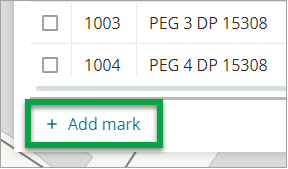
To add a new mark, select the + Add mark button, located on the bottom left-hand side of the Marks panel.

A new mark will be added to the bottom of the Marks panel and will auto-populate with details from the last mark in the panel.
It will be automatically assigned the next available mark number. You can change this to a different unallocated mark number if you are using a different numbering sequence.
Go through each of the new mark fields and update these as required.
Once you have updated each of the fields, use the more options menu at the end of the mark row to link the mark to the spatial map.
You can either select Link and then select the coordinate on the spatial map to link it to, or select Link by Node ID and type in the Node ID.

If you import data from an XML file, and there are new marks in the file without a plan reference, Landonline will automatically populate the Mark Plan Ref field with the new plan number.
When you create a new mark, you cannot display it in the Spatial Display until it has been associated with a coordinate.
You generate a coordinate for the mark when it is included in a vector with another mark that has a coordinate. However, if the mark already exists in Landonline, you must link the mark to an existing Landonline mark.