
Create a table
1. Select Create table
In the Schedule / memorandum panel, select +Create table.

The +Create table button is always at the bottom left of the panel. If you have already created any tables in your schedule/memorandum, you may need to scroll to the bottom of the panel to find it.

2. Choose table type
Select a table type from the drop-down list.

The columns you see in a table will vary depending on the table’s purpose. Some examples:
- Schedule of easements has burdened and benefited land columns
- Schedule of easements in gross has a grantee column
- Schedule of existing easements has a creating document column.

The Notes and Amalgamation conditions tables are free-text fields.

You can include as many tables as you need in your schedule, but only 1 of each table type is allowed. Any table types you’ve already added to the schedule/memorandum will be greyed out in the drop-down menu.

3. Start populating the table
The table is created with a new, empty row.

You will need to complete all fields that have orange warning triangles before the Schedule / memorandum is attached as a supporting document. Hover your mouse over a warning triangle to see what needs to be resolved.
For information on how to populate the table, see:
- Populate tables in the Schedule / memorandum panel
- Add existing easements to be retained or surrendered in the Schedule / memorandum panel
Change table type
You can change a created table’s type at any time.
- If you have already populated the table with any data:
- the data is transferred to the new table type
- you will lose any data where existing columns are not included in the new table type.
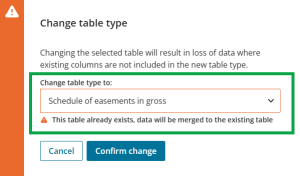
- If the table type you are changing to already exists in your schedule/memorandum, the data will be merged to the existing table.
- The Notes table can only be changed to an Amalgamation conditions table, and vice versa.
Change Notes or Amalgamation conditions table type
For this example, we are starting with a Notes table. The process is the same for an Amalgamation conditions table.
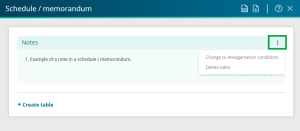
Select the 3-dot menu at the top right of the table to open the More actions menu.
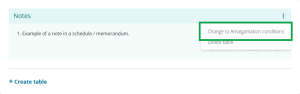
Select Change to Amalgamation conditions.
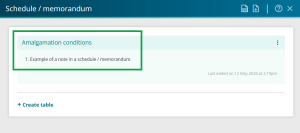
The table type is changed, and any existing data is transferred to the new table type.


Change schedule or memorandum table type
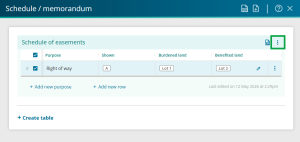
For this example, we are starting with a populated Schedule of easements table. The process is the same for all table types except Notes and Amalgamation conditions.
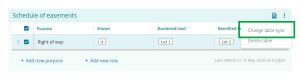
Select the 3-dot menu at the top right of the table to open the More actions menu.
Select Change table type.
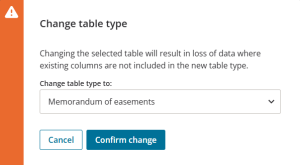
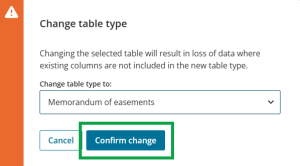
A pop-up box appears, warning you that you will lose any data where existing columns are not included in the new table type.
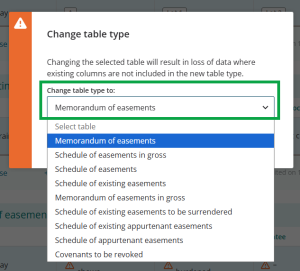
Click into the Change table type to field to open the list of table types. Select the new table type from the list.
If the table type you select already exists in your schedule/memorandum you will see a warning. Any data from the table you are changing will be merged into the existing table.
Select Confirm change.
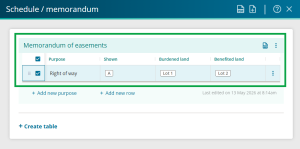
The table type is changed.
- The existing data is transferred to the new table type.
- Any data where existing columns are not included in the new table type is lost. You will need to complete all fields that have orange warning triangles before the Schedule / memorandum is attached as a supporting document.


Reorder tables in schedule/memorandum
You can change the order in which the tables appear in your schedule/memorandum.
Use 3-dot menu to reorder tables
Select the 3-dot menu at the top right of a table to open the More actions menu.
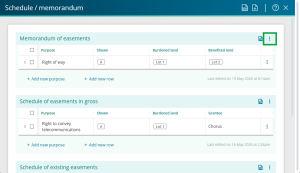
The Move options available for each table will depend on that table’s current position. Options can include:
- Move to top – moves table to the top of the schedule/memorandum
- Move up – moves table up 1 position
- Move down – moves table down 1 position
- Move to bottom – moves table to bottom of the schedule/memorandum.
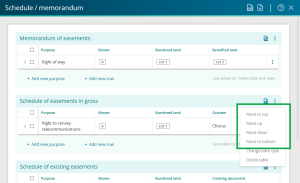
- Select a Move option. The table will move to its new position, with all existing data retained.


Drag to reorder tables
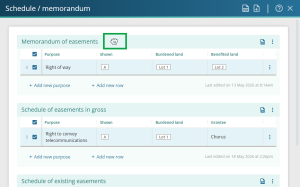
Left-click and hold the table header while dragging the table to its new position.
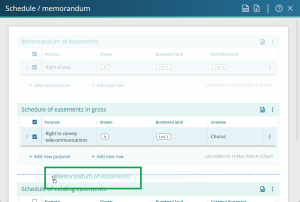
As you drag the table, a blue dotted line appears between tables to delineate the sections.
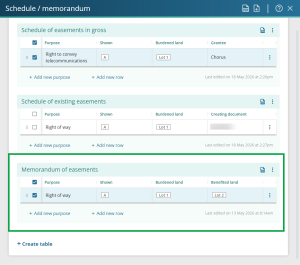
Release the mouse once you have dragged the table to its new position. All existing data in the table is retained.


Delete table
Deleting a table also deletes all rows within the table.
Select the 3-dot menu at the top right of the table to open the More actions menu.
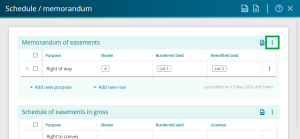
Select Delete table.
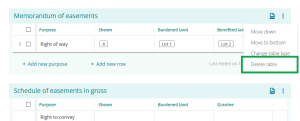
A confirmation message appears. Select Delete to delete the selected table or Cancel to go back.
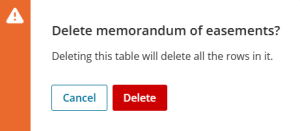


Deleting a table is irreversible.
You will need to create a new table and repopulate the rows if you delete a table in error.
See: Create a table